Understanding Your Instrument and Space
Before placing any microphones, take time to listen to the instrument in the room where you plan to record. How does it resonate? Where does it sound best? A great performance in a good-sounding room, captured with appropriate microphones, is the foundation of an excellent recording. Even the most advanced mixing techniques cannot fully compensate for a poorly recorded source.
Choosing the Right Microphone Type
Different microphones excel at capturing different characteristics of sound. For acoustic instruments, condenser microphones are often preferred due to their sensitivity and wide frequency response, capturing intricate details. Small-diaphragm condensers are excellent for transient-rich instruments like acoustic guitar or percussion, while large-diaphragm condensers can add a pleasing warmth and fullness to vocals or strings. Ribbon microphones offer a smooth, natural sound, particularly good for brass or certain string instruments, while dynamic microphones are robust and can handle higher sound pressure levels, sometimes used for close-miking louder instruments or for a more focused, less ambient sound.
Microphone choice should complement the instrument's character and the desired sonic outcome.
Essential Microphone Placement Techniques
Microphone placement is where the magic truly happens. Small adjustments can yield dramatic differences in tone. For a deeper dive into mic types and their patterns, refer to our article on [LINK:exploring-microphone-polar-patterns-choosing-the-right-mic-for-every-source].
Close Miking
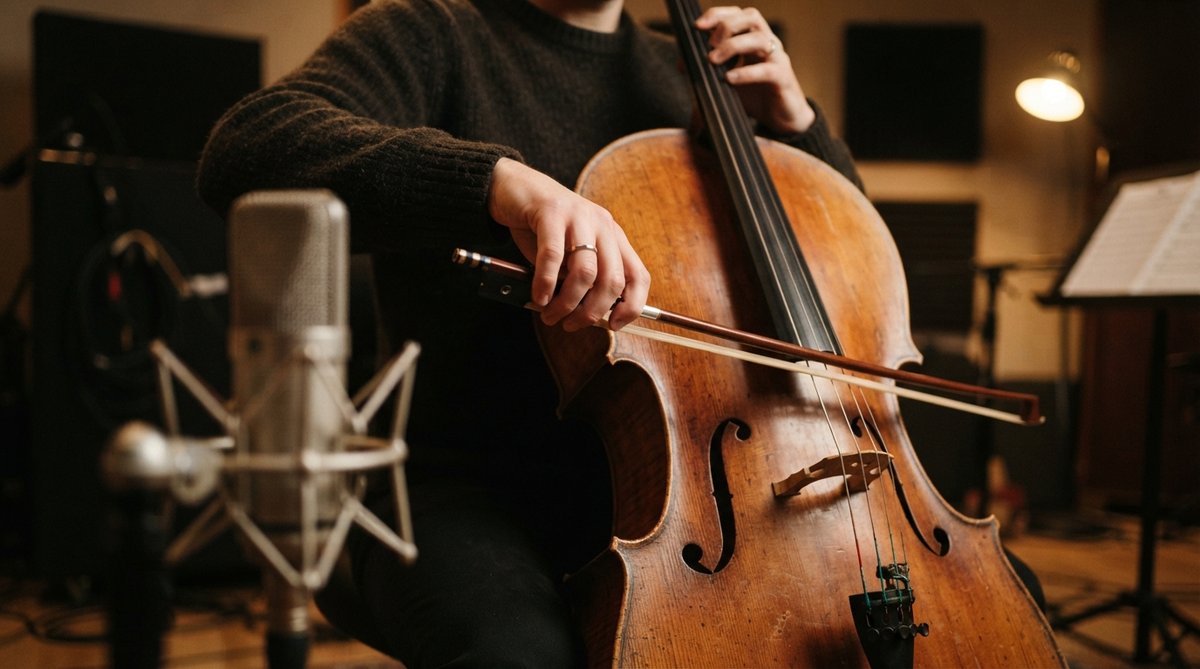
Placing a microphone close to an instrument provides a direct, intimate sound with minimal room ambience. This is common for acoustic guitar, where a mic positioned near the 12th fret can capture a balanced sound, avoiding the boominess often found directly at the soundhole. For bowed strings like violins or cellos, placing a mic a few inches from the f-hole or above the bridge can highlight specific attack or body tones. Be aware of the 'proximity effect' with directional microphones, which can boost low frequencies as you get closer.
Distance Miking and Room Microphones
To capture the natural acoustics of a room and add a sense of space, distance miking is crucial. A single microphone placed a few feet away can provide a more balanced, natural sound than a close mic alone. For classical recording, room microphones are often the primary source, capturing the ensemble's blend and the concert hall's ambience. Experiment with distances and heights to find the sweet spot where the instrument and room interact harmoniously. You can learn more about creative mic placement in Beyond The Sweet Spot Creative Microphone Placement For Unique Tones.
Stereo Miking Techniques
For a wide, immersive soundstage, stereo microphone techniques are invaluable, especially for larger acoustic instruments like grand pianos or entire ensembles. Common methods include:
- XY (Coincident Pair): Two directional microphones placed with their capsules as close as possible, angled at 90 or 110 degrees. This provides excellent mono compatibility and a focused stereo image.
- ORTF (Near-Coincident Pair): Two directional microphones spaced roughly 17 cm apart, angled at 110 degrees. Offers a wider stereo image than XY while maintaining good mono compatibility.
- Spaced Pair: Two identical microphones placed several feet apart, often omnidirectional. This creates a very wide and spacious stereo image, but can sometimes introduce phase issues if not carefully managed.
- Blumlein Array: Two figure-8 microphones crossed at 90 degrees, capturing a realistic stereo field with good depth.
When using multiple microphones, always check for phase coherence to avoid frequency cancellation.
Monitoring and Analysis
After setting up your microphones, careful monitoring is essential. Listen for phase issues, frequency imbalances, and unwanted room resonances. When using multiple microphones, phase relationships become critical. Oszillos Mega Scope can be an indispensable tool here, allowing you to visualize the waveforms from different microphones simultaneously. You can clearly see if one mic's waveform is out of phase with another, which would result in frequency cancellation when combined. Similarly, Spectrum 2 helps you analyze the frequency content from each mic, identifying potential clashes or areas where certain frequencies are over or under-represented. This visual feedback, combined with critical listening, guides you to optimal placement and ensures a solid foundation for your mix. For more on this, check out The Power Of Phase Understanding And Manipulating Phase In Your Mix and Beyond The Ears Using A Spectrum Analyzer For Precise Eq Decisions.
Post-Recording Considerations
Even with perfect mic technique, you might want to enhance the recorded space. If your room sound is too dry, a high-quality reverb plugin like RedVerb 2 or JP-ME-1 can add realistic or creative ambience. RedVerb 2 lets you load impulse responses of real spaces, offering authentic room characteristics, while JP-ME-1 provides classic 80s digital reverb sounds for a different flavor. Remember, these should augment, not replace, a good source recording.