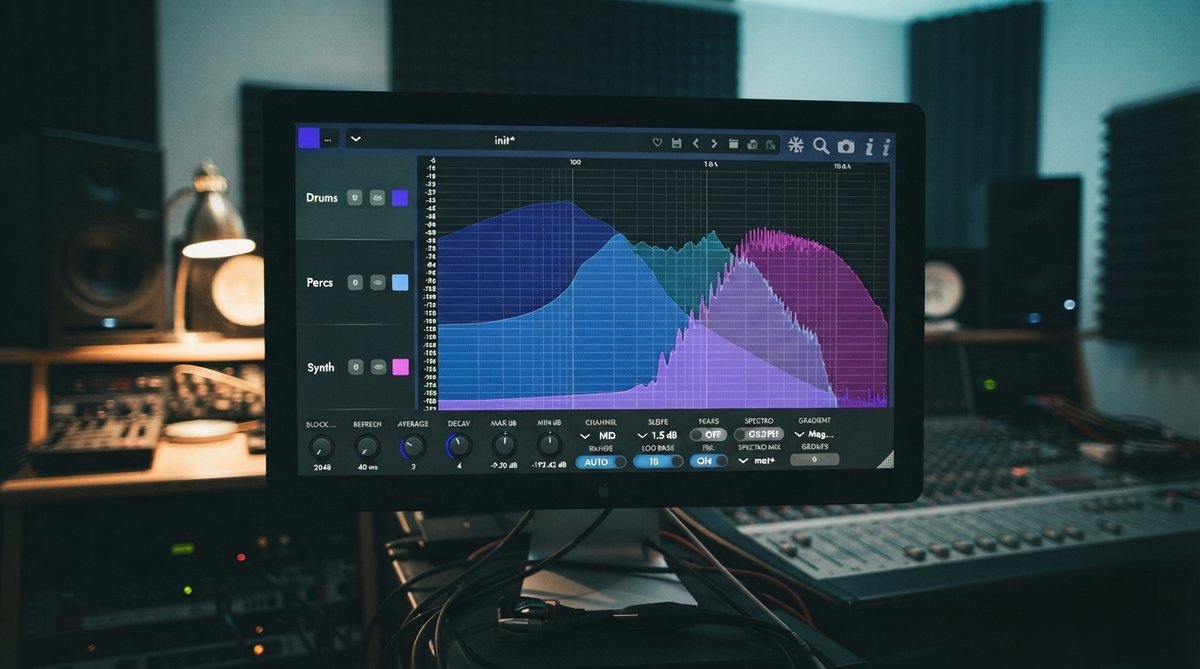
The Power of Visualizing Sound
Even with trained ears, certain frequency issues can be subtle or masked by other elements in a mix. A spectrum analyzer translates the complex tapestry of sound into a visual representation, showing you the energy distribution across the frequency spectrum. This visual feedback complements your listening, helping you identify areas that need attention more quickly and accurately.
A spectrum analyzer is not a replacement for your ears, but a powerful assistant for precise EQ work.
What a Spectrum Analyzer Reveals
A good spectrum analyzer, like Spectrum 2, displays the frequency content of your audio in real-time. You'll see peaks and troughs corresponding to the various frequencies present in your signal. This allows you to observe:
- Dominant Frequencies: Which frequency ranges are most prominent.
- Frequency Clashes: Where different instruments or elements might be occupying the same sonic space, leading to muddiness or harshness.
- Resonances: Unwanted build-ups at specific frequencies that can make a sound boxy, boomy, or piercing.
- Overall Spectral Balance: Whether your mix is heavy in the lows, mids, or highs, and if there are any significant gaps.
Spectrum 2 is particularly useful because it offers multi-channel analysis. You can place instances on individual tracks and monitor them all from one display, making it easy to spot interactions between different elements in your mix. This takes the guesswork out of identifying where frequency conflicts truly lie. For a deeper dive into this tool, check out Spectrum 2 The Ultimate Multi Channel Spectrum Analyser Plug In.
Pinpointing Problem Frequencies
One of the most common uses for a spectrum analyzer is to find and address problematic frequencies. Here's a typical workflow:
- Identify the Issue: Listen to a track or your whole mix and notice if something sounds muddy, harsh, thin, or boomy.
- Engage the Analyzer: Open your spectrum analyzer on the track or bus in question.
- Sweep and Confirm: Use a narrow-band boost on an EQ plugin and sweep it across the frequency spectrum. When the problematic sound becomes exaggerated, observe where the peak appears on your spectrum analyzer. This visual confirmation helps you precisely locate the offending frequency.
- Make Precise Cuts: Once identified, use a narrow cut at that exact frequency on your EQ. This surgical approach allows you to remove unwanted resonances without affecting the desirable parts of the sound. This is a key technique for achieving a balanced sound, as discussed in The Art Of Spectral Balance How To Achieve A Professional Sounding Mix.
Use a narrow boost on your EQ and sweep to visually pinpoint problem frequencies before making precise cuts.
Achieving Overall Spectral Balance
Beyond individual track issues, a spectrum analyzer helps you evaluate the overall spectral balance of your entire mix. You can compare your mix's frequency curve to reference tracks that you admire. While every mix is unique, this comparison can highlight areas where your low end might be too much or too little, or if your high end is lacking sparkle or is too bright. This is especially helpful when working on the mix bus or mastering chain.
Consider combining a spectrum analyzer with an oscilloscope for comprehensive visual feedback. An oscilloscope, like Oszillos Mega Scope, helps you see waveform shapes and phase relationships, which can be critical for tasks like compression fine-tuning or drum programming. Both tools are available together in the Oszillos & Spectrum Bundle, providing a powerful duo for visual audio analysis. For more on the oscilloscope, read [LINK:unlock-the-power-of-audio-analysis-with-oszillos-mega-scope].
Balancing Visuals with Audition
Remember, the spectrum analyzer is a guide, not a dictator. Your ears should always have the final say. Sometimes, what looks 'good' on the analyzer might not sound 'good' in context, and vice versa. Use the visual information to quickly identify potential issues and confirm what your ears are telling you, but always trust your subjective listening experience to make the final EQ decisions. This collaborative approach between your eyes and ears leads to more efficient and effective mixing.