Breaking Free From The "Sweet Spot"
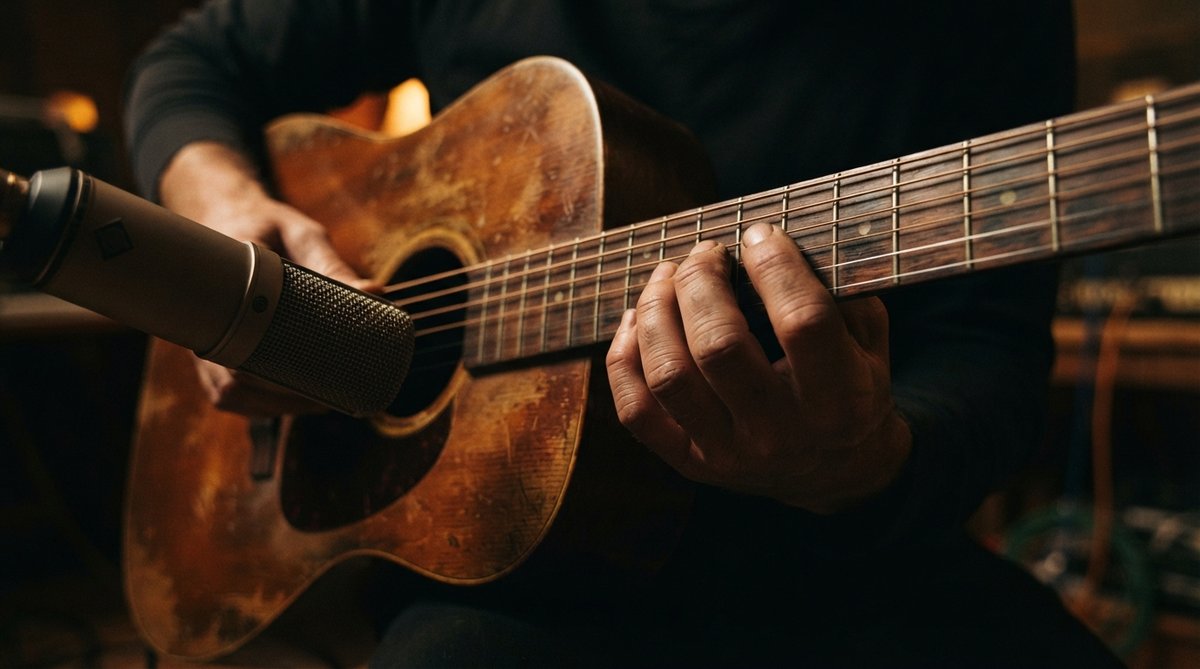
Most recording engineers learn the 'sweet spot' for various instruments: a mic pointing at the 12th fret of an acoustic guitar, off-center on a snare drum, or directly at a speaker cone. These placements are a great starting point for clear, balanced recordings. However, for those seeking character, grit, or something truly distinct, thinking outside the box with microphone placement is a powerful approach. It's about treating the microphone as a creative tool, not just a capture device.
Miking the Unexpected
Consider placing microphones in locations you wouldn't typically think of. Instead of just the speaker, try miking behind a guitar amplifier to capture the cabinet's resonance, or even inside the amp's open back. For drums, place a mic on the shell itself, or underneath the snare to emphasize spring rattle and body. On an acoustic guitar, try miking the soundboard or even the player's hands for percussive elements. These techniques often reveal hidden harmonics, mechanical noises, and textural details that a conventional placement would miss.
Unconventional mic placements can transform a familiar sound source into something entirely new and inspiring.
Capturing the Environment
The room itself is a crucial part of any sound. Instead of close-miking everything, experiment with placing microphones far from the source, or even in a different room entirely. This captures natural reverb, reflections, and the unique sonic signature of your recording space. A distant mic in a hallway or a bathroom can yield fascinating ambient textures. Once captured, you can enhance these unique room sounds with a plugin like RedVerb 2, which allows you to adjust the size and decay of your captured impulse responses, or add a distinct retro vibe with JP-ME-1, emulating classic 80s digital reverb. For more on working with captured spaces, check out Convolution Reverb Explained Mastering Impulse Responses For Realistic Spatial Effects.
The World as Your Instrument
Sound design often involves recording 'found sounds' – everyday objects and environments. Use your microphones to capture the scraping of a chair, the hum of a refrigerator, the rustle of leaves, or the specific sonic character of a metal pipe. These recordings can be layered, processed, and manipulated to create unique percussive elements, atmospheric beds, or abstract musical textures. To give these unconventional recordings a distinct character, consider running them through Schulz PortaCrunch 424. Its emulation of a classic cassette four-track preamp can infuse your sounds with warm, gritty saturation and lo-fi compression, perfect for adding nostalgic or experimental textures. You can learn more about this sound in How To Get That Authentic Cassette Tape Sound In Your Daw.
Multi-Mic Magic and Phase Exploration
Combining multiple microphones on a single source, each with a different placement, can create incredibly rich and complex tones. For example, a close mic on a guitar amp combined with a distant room mic, or even two different mics at varying distances. The key here is understanding and manipulating phase relationships. When waveforms from different microphones combine, their phase can interact in constructive or destructive ways, leading to frequency boosts or cancellations. Observing these interactions visually with a tool like Oszillos Mega Scope is invaluable. Its multichannel display allows you to see the waveforms from all your mics simultaneously, making it easy to spot and correct phase issues, or even intentionally use phase as a creative sound design element. For a deeper dive into this topic, explore The Power Of Phase Understanding And Manipulating Phase In Your Mix.
Phase is not just a problem to fix; it's a powerful creative tool for shaping unique sonic textures.
Analyzing and Shaping Your Unique Tones
Once you've captured these unique sounds, analysis tools become essential. Use Spectrum 2 to inspect the frequency content of your unconventional recordings. This multi-channel spectrum analyzer helps you identify interesting harmonics, pinpoint any unexpected resonances, or find clashing frequencies when layering multiple sounds. Visualizing your audio with Spectrum 2 can guide your EQ decisions and help you sculpt your unique tones effectively, as discussed in Beyond The Ears Using A Spectrum Analyzer For Precise Eq Decisions. After analysis, a plugin like OOMPH can help you refine and enhance these sounds. Its multiband dynamic enhancement allows you to maximize the punch, clarity, and impact of specific frequency zones, giving your creatively captured audio the professional polish it needs without losing its unique character.