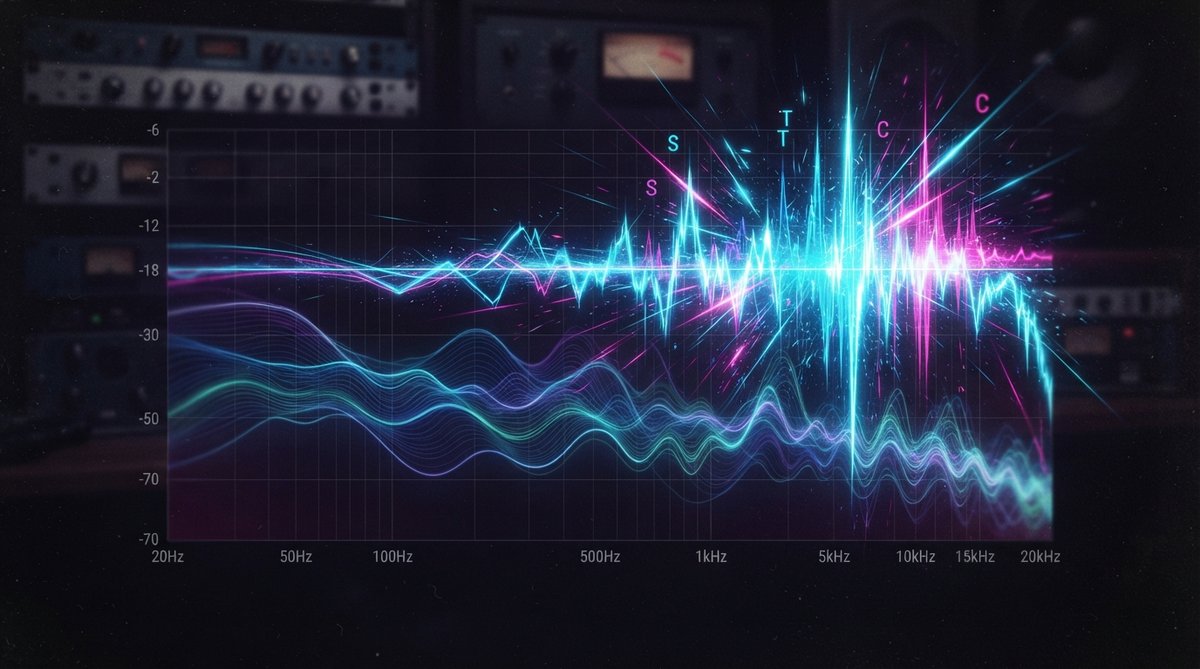
The Challenge of Vocal Imperfections
Vocals are often the most important element in a song, and any imperfections can be distracting. Two common issues are sibilance and unwanted noise. Sibilance refers to the harsh 's', 'sh', 'ch', and 'z' sounds that can become overly prominent and piercing, especially with certain microphones or processing. Noise can include anything from microphone hiss, room hum, computer fan noise, or even subtle mouth clicks and breaths.
De-essing: Taming Harsh Sibilance
Sibilance is essentially a type of frequency-specific transient. When esses become too loud, they can sound sharp and unpleasant, poking out of the mix. A de-esser is a specialized compressor that targets these specific high-frequency sounds, reducing their volume only when they exceed a certain threshold. You typically set a de-esser to react in the 4 kHz to 10 kHz range, where sibilance usually resides. Using a tool like Spectrum 2 can help you visually identify the exact frequency range where sibilance is most prominent, allowing for more precise tuning of your de-esser. For a deeper understanding of how to balance frequencies, you might find our article on The Art Of Spectral Balance How To Achieve A Professional Sounding Mix helpful.
Effective de-essing involves surgically reducing harsh "s" sounds without making the vocal sound dull or lisping.
When de-essing, start with a moderate threshold and ratio. Too aggressive settings can strip the vocal of its natural brightness and clarity, making it sound unnatural. Many de-essers have a 'listen' or 'sidechain solo' mode that lets you hear only the frequencies the de-esser is reacting to, which is incredibly useful for fine-tuning. Remember, the goal is to make the sibilance sit naturally within the mix, not to eliminate it completely. For more on vocal EQ, check out Mastering Eq For Vocals Clarity Presence And Space.
De-noising: Cleaning Up Unwanted Sounds
Beyond sibilance, recordings can contain various forms of undesirable noise. This could be a constant hiss from preamps, a low-frequency hum from electrical interference, or general room ambience that becomes too noticeable. De-noising tools work by analyzing a section of 'pure' noise (often called a 'noise print' or 'noise profile') and then intelligently subtracting those frequencies from the rest of the audio. They often use advanced spectral processing to distinguish noise from the desired vocal performance.
For successful de-noising, capturing a clean 'noise print' from a section of the recording with no vocal is essential.
When applying noise reduction, subtlety is key. Over-processing can lead to artifacts, making the vocal sound watery, phasey, or metallic. It is often better to reduce noise by a small amount across several stages than to try and remove it all in one go. Sometimes, a combination of gentle noise reduction and careful EQ can yield the best results. Visualizing the frequency content with Spectrum 2 can also assist in identifying persistent hums or broadband noise that needs addressing. For general frequency identification, our article Beyond The Ears Using A Spectrum Analyzer For Precise Eq Decisions offers further insights.
The Vocal Cleanup Workflow
The order in which you apply cleanup processes matters. Generally, it is best to address noise reduction early in your signal chain, often before any heavy compression or EQ, as these can sometimes exaggerate existing noise. De-essing can come before or after compression, depending on how the compressor affects the sibilance. If compression makes sibilance worse, de-ess before. If the vocal is already dynamic and sibilance is consistent, de-essing after compression might be fine. After cleanup, you might consider tools like OOMPH, our multi-band dynamic enhancement plugin, to add punch, clarity, and impact to your now-clean vocal, refining its balance and stereo width across different frequency zones. Our The Art Of Vocal Comping And Tuning Achieving Polished Performances article also touches on other aspects of preparing vocals.
Beyond the Tools: The Art of Listening
While powerful plugins are available, the most important tool you possess is your ears. Always listen critically to how your processing affects the vocal. Does it sound natural? Is it sitting well in the mix? A/B testing your changes by bypassing the plugin is crucial to ensure you are improving the sound, not just changing it. Trust your judgment and aim for a clean, natural, and engaging vocal performance.