OOMPH Quick Start Guide
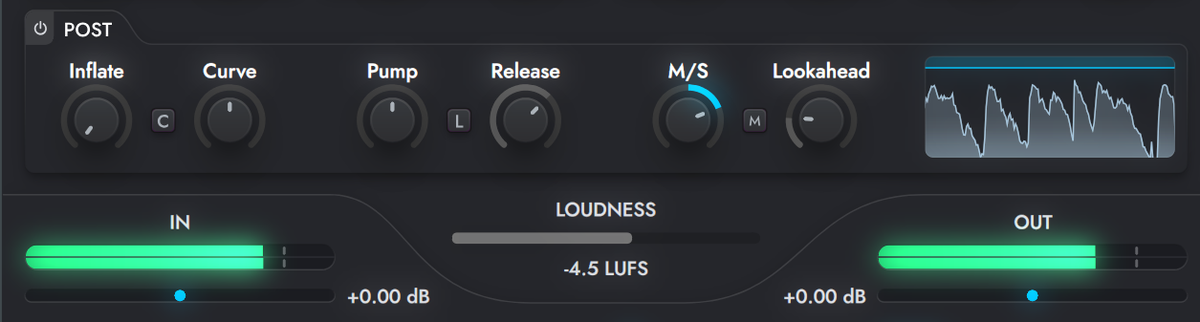
2. Classic Inflator Settings
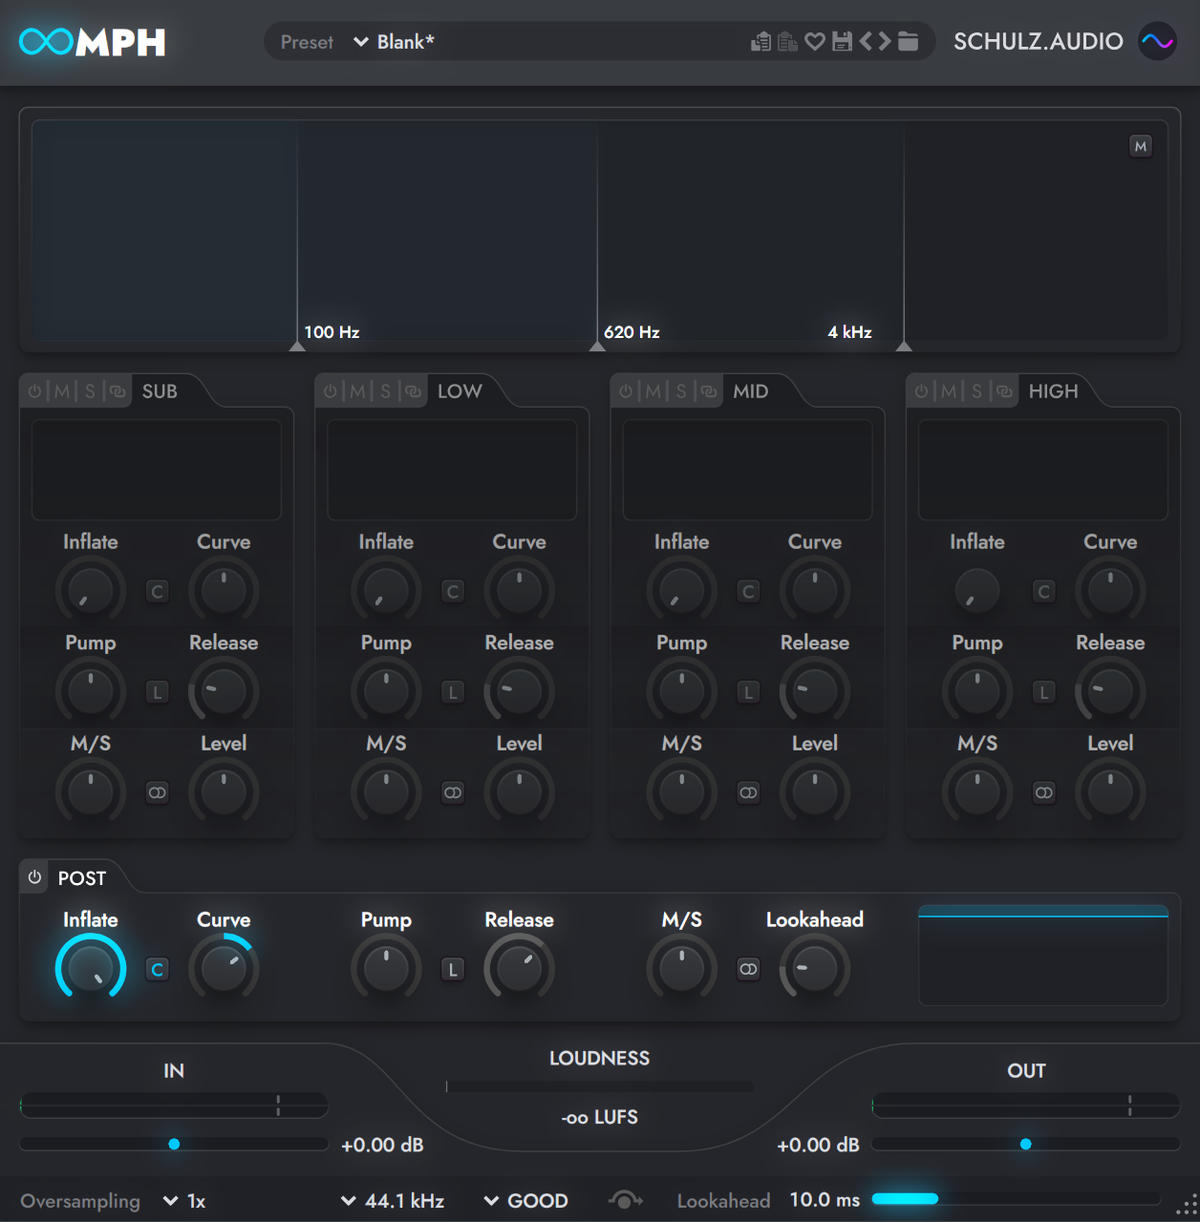
For a classic inflator effect
- Open the preset named “Blank”.
- Bypass processing of all 4 frequency bands.
- Turn up Post Inflate to 100%.
- Adjust Post Curve to taste.
- Depending on the level of your input material, you may need to adjust Input Gain to achieve the best result.
These settings are especially useful if you place Oomph at the end of your signal chain and mix into it.
3. Oversampling & Quality
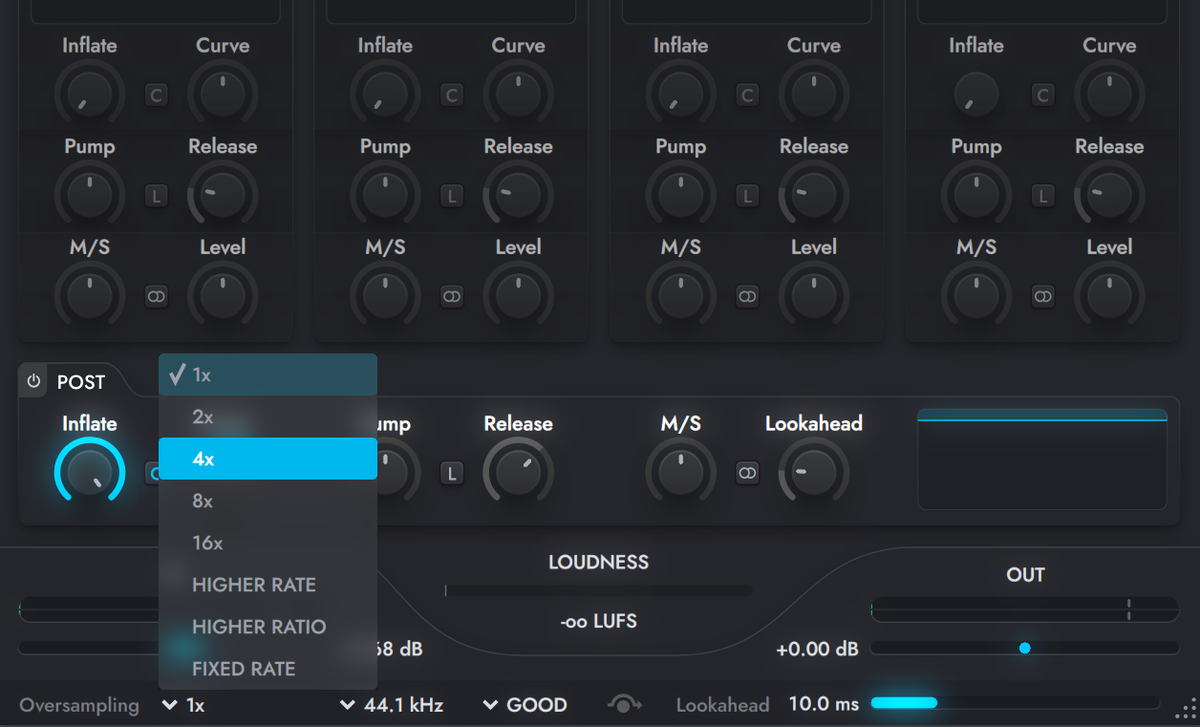
You may wish to increase Oversampling and Quality if your computer can handle it. This will significantly improve the smoothness and detail of higher frequencies.
If you wish to improve performance, you may keep these settings lower, but remember to increase them before printing. Oversampling of 4x and Quality of Ultra or Extreme are sufficient for most situations. Lower settings may be adequate for processing individual tracks, but in general, higher sounds better.
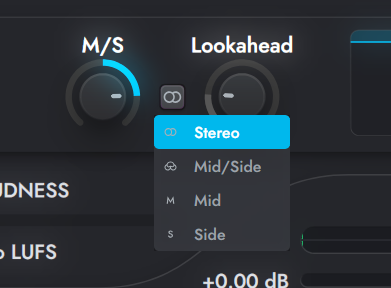
4. Mid-Side

While you are here, this is a good time to experiment with Oomph’s Mid/Side settings. By default, Oomph’s M/S mode is set to Stereo. This means the Post Channel’s controls will process both Mid and Side channels.
Try turning the Post M/S Balance control up and down. If your input is a stereo signal, you will hear that turning M/S Balance up very slightly will subtly widen your mix, and sit centered tracks like a lead vocal backward in the mix.
For most applications, this M/S Balance knob is best if used very subtly, though extreme settings on individual tracks can provide inspiration for sound design and extreme effects, especially in combination with Oomph’s multi band limiter and clippers.
For a slightly more nuanced approach to this same idea, try setting M/S Balance to its center point, and switch M/S Mode to Side. This will inflate only the sides of your input material, and can be useful for adding a touch of detail, ambience, and width to your mix without pushing back the center.

You can adjust the Mid/Side balance slightly to offset any unwanted changes in balance.
Toggle the plugin’s bypass button on and off to compare.
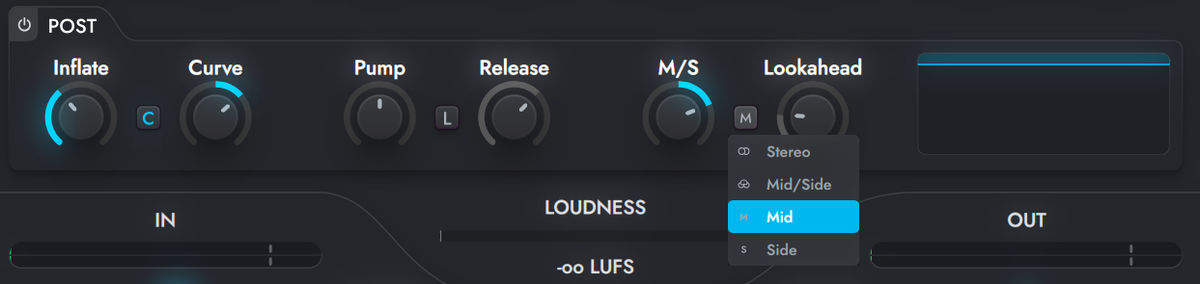
Alternatively you may wish to inflate only the center of your signal. To do this, switch M/S Mode to Mid. This can help solidify and anchor your mix, drawing extra attention to the centered tracks in your mix like lead vocal, kick, bass, and snare, without altering the sides of your mix. You can even inflate the center of your mix to thicken up sounds residing there, and widen your mix by slightly increasing the M/S Balance control. Again, subtle changes are often best.
5. Pump
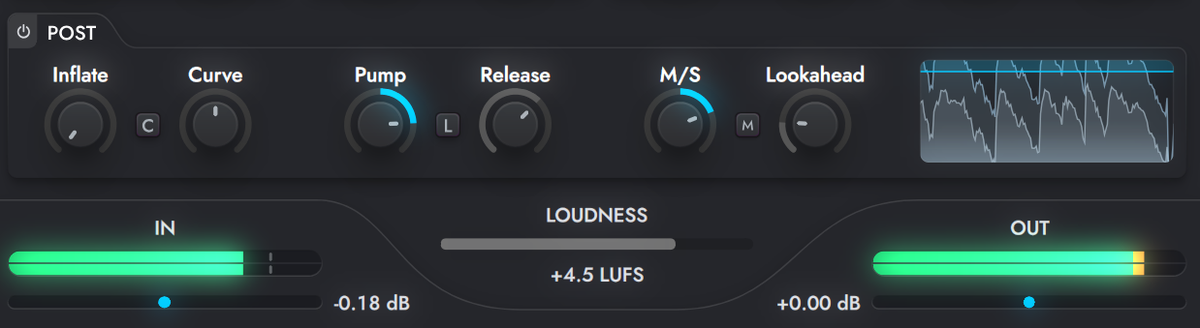
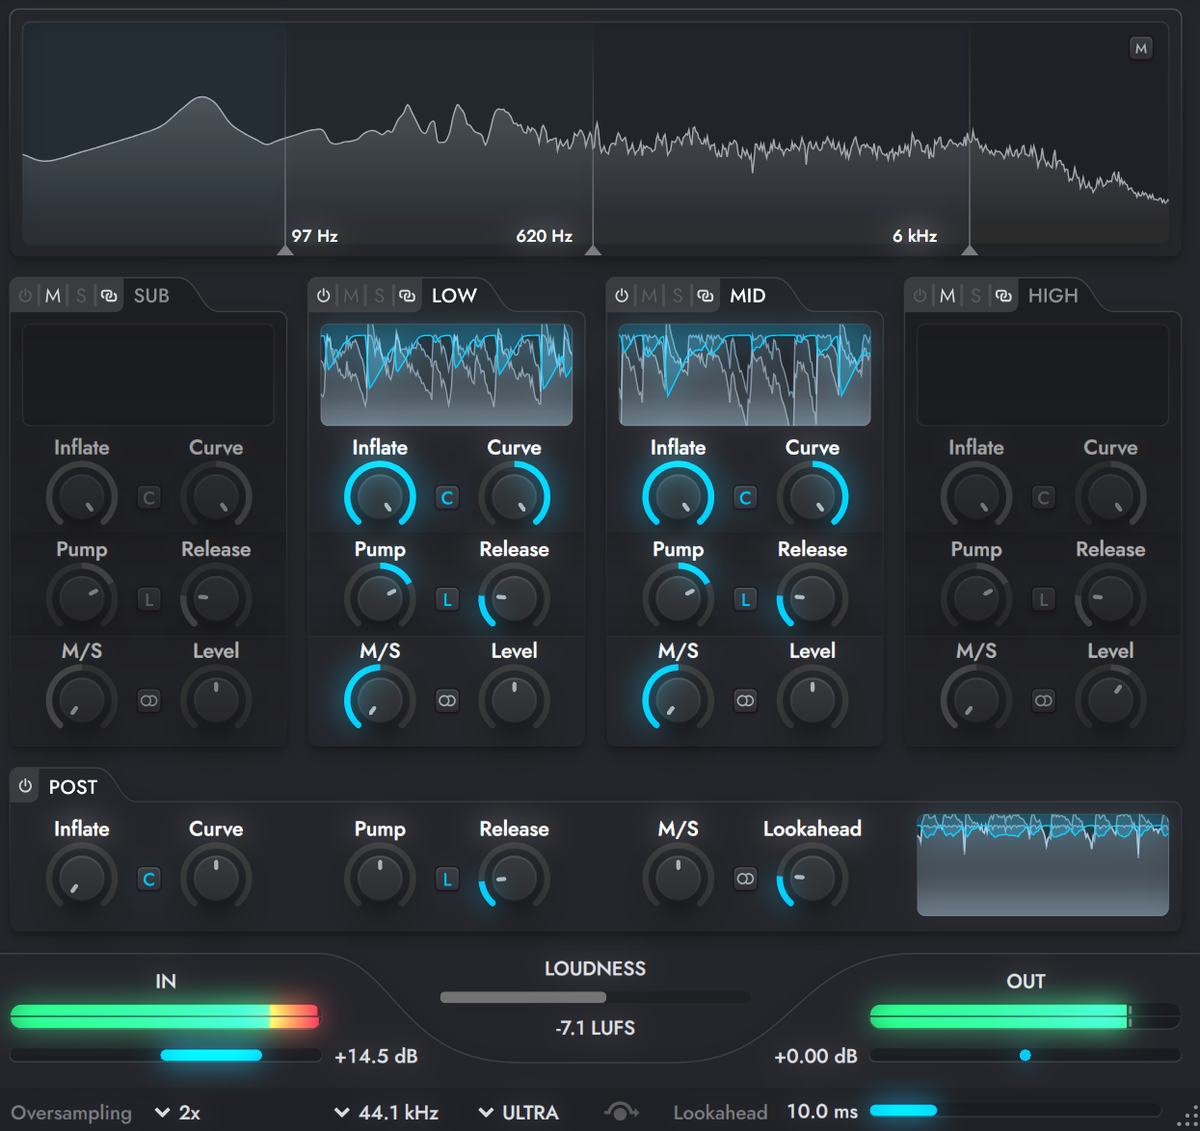
While the core purpose of Oomph is to provide frequency-targeted mid/side harmonic excitement without affecting dynamics, sometimes a touch of limiting is exactly what’s needed. For this reason, Oomph includes 5 optional limiters, one for each Frequency Band, and one in the Post Channel. Try engaging the Post Limiter, and carefully turning up Post Pump. You will see the Post Limiter’s effect in the display at the right of the Post Channel. Subtle settings are typically best. Adjust Post Release to taste.

If your signal is distorting, try turning Post Inflate down and/or adjusting Post Curve to lower settings, until you achieve the desired balance of Pump and Inflate without any unwanted distortion.
In many cases, Pump is best left at 0 and Limit is best left off, but give them a try if your track still needs a little extra Oomph.
6. Multiband Wokflow
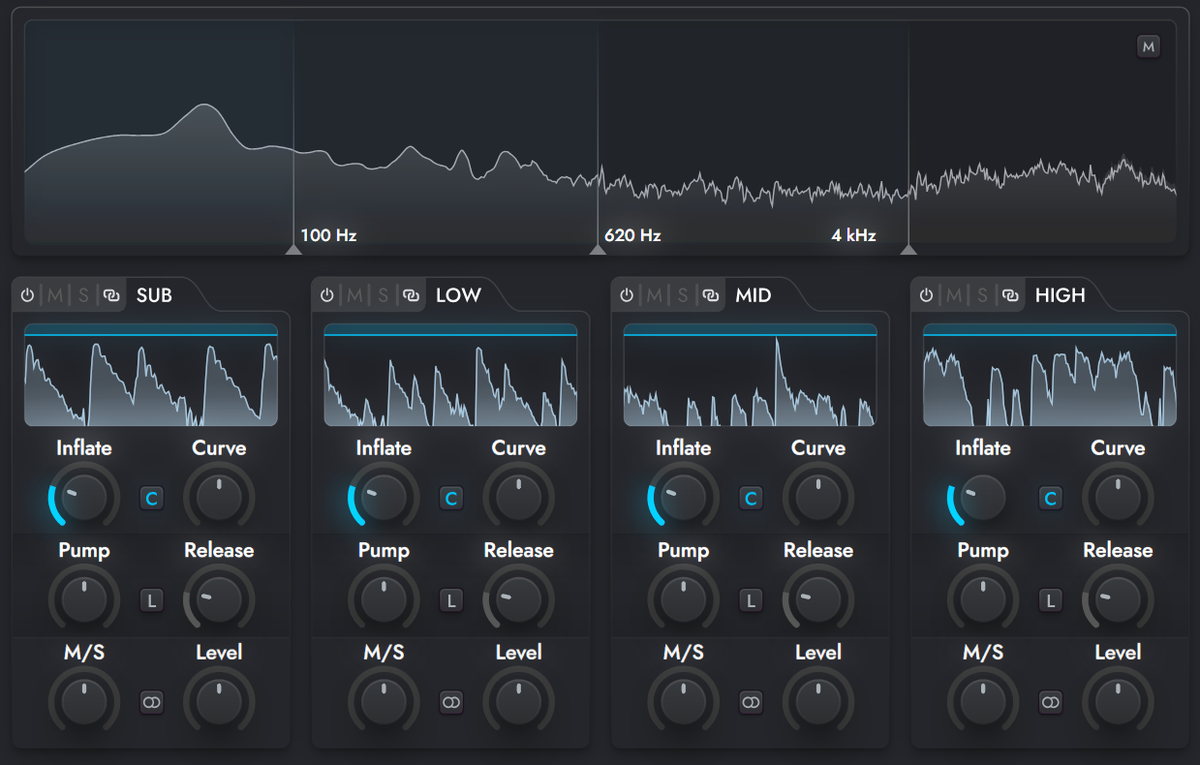
Now that you know your way around the Post Channel, it’s time to experiment with Oomph’s multi-band controls.
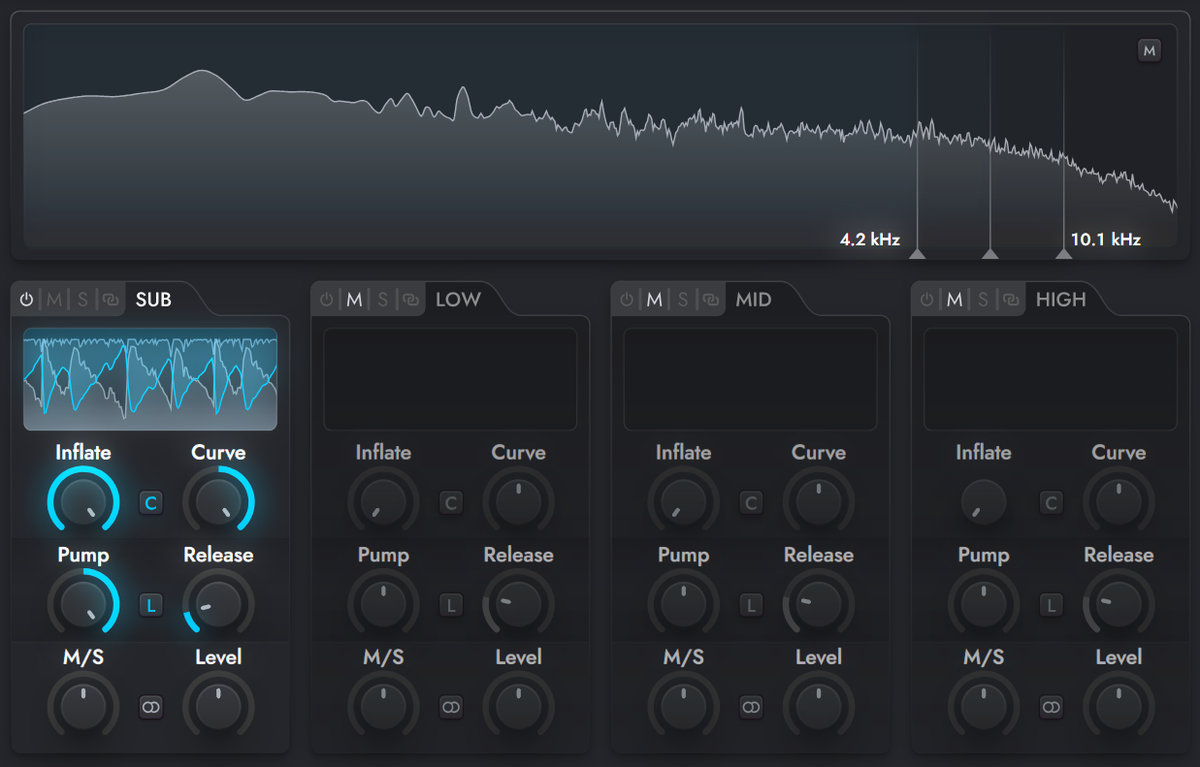
Oomph contains 4 user-definable Frequency Bands. Each Frequency Band contains the same set of controls as the Post Channel, but instead of altering the entire frequency range of the input material, these controls only alter the selected frequency band.
This flexibility is especially useful when Oomph is added to an already existing project, or when Oomph is being used for sound design.
If you want to use a classic inflator effect as a starting point, and then customize the effect further, try setting up Oomph like this:
- Open the preset named “Blank”.
- Bypass the Post Channel.
- Click the Link icon on each of the 4 Frequency Bands.
- Turn any of the Frequency Band Inflate controls to 100%.
- Set any of the Frequency Band Curve controls to taste.
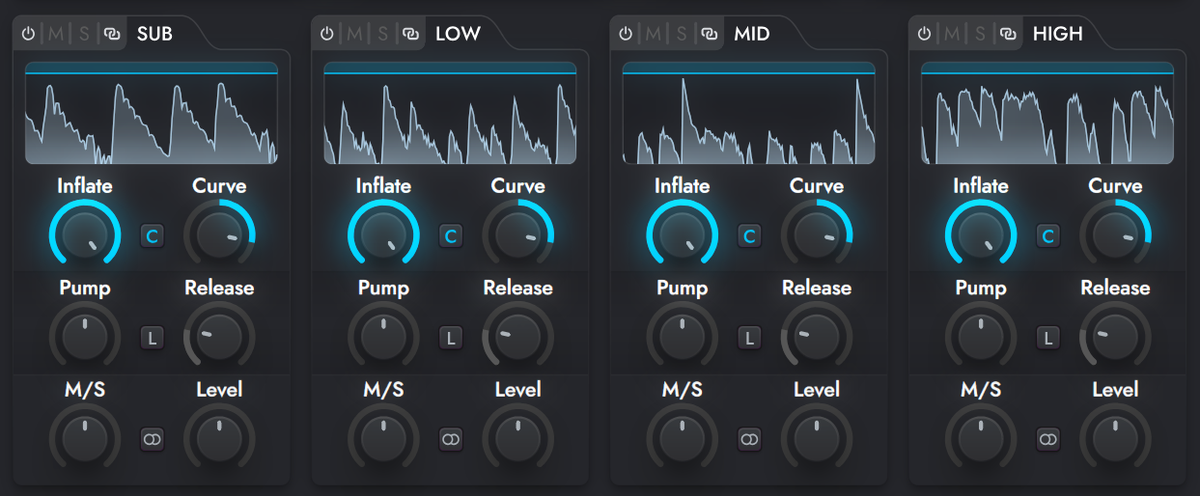
6. Adjust Input Gain until you achieve the desired loudness without distortion.

7. Unlink any Frequency Bands that require further refinement, and adjust their controls as needed.
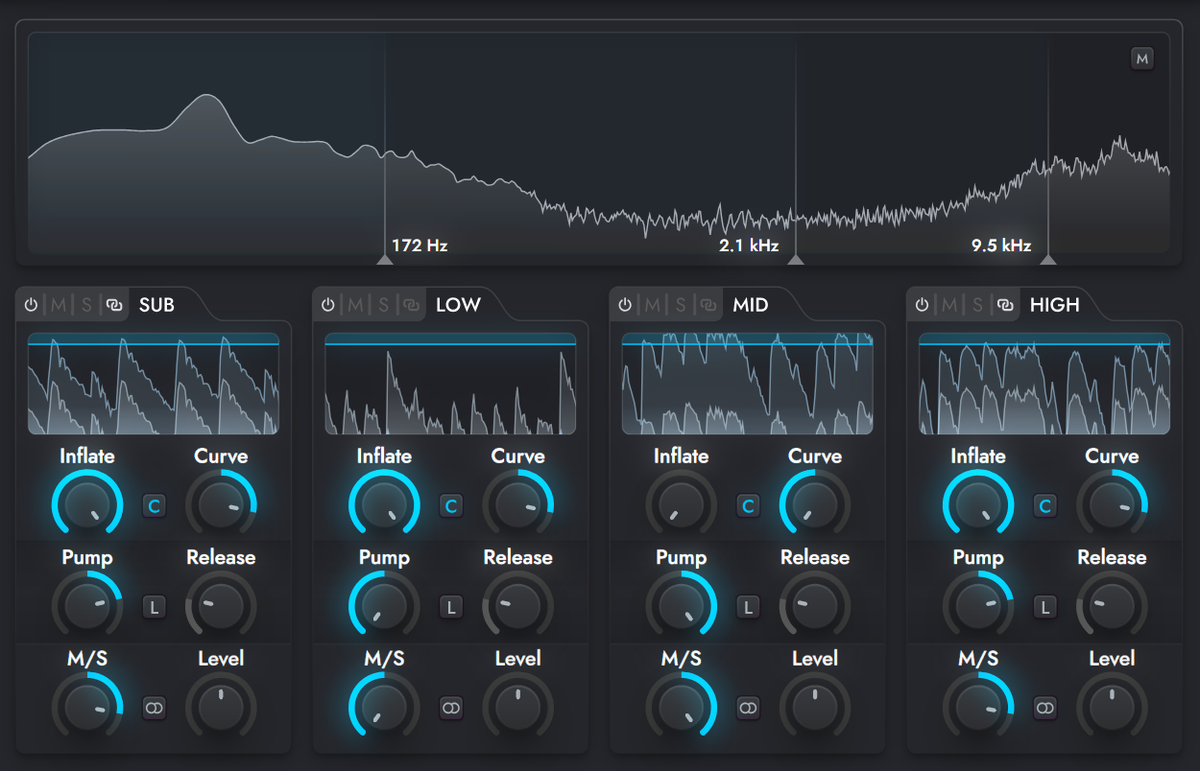
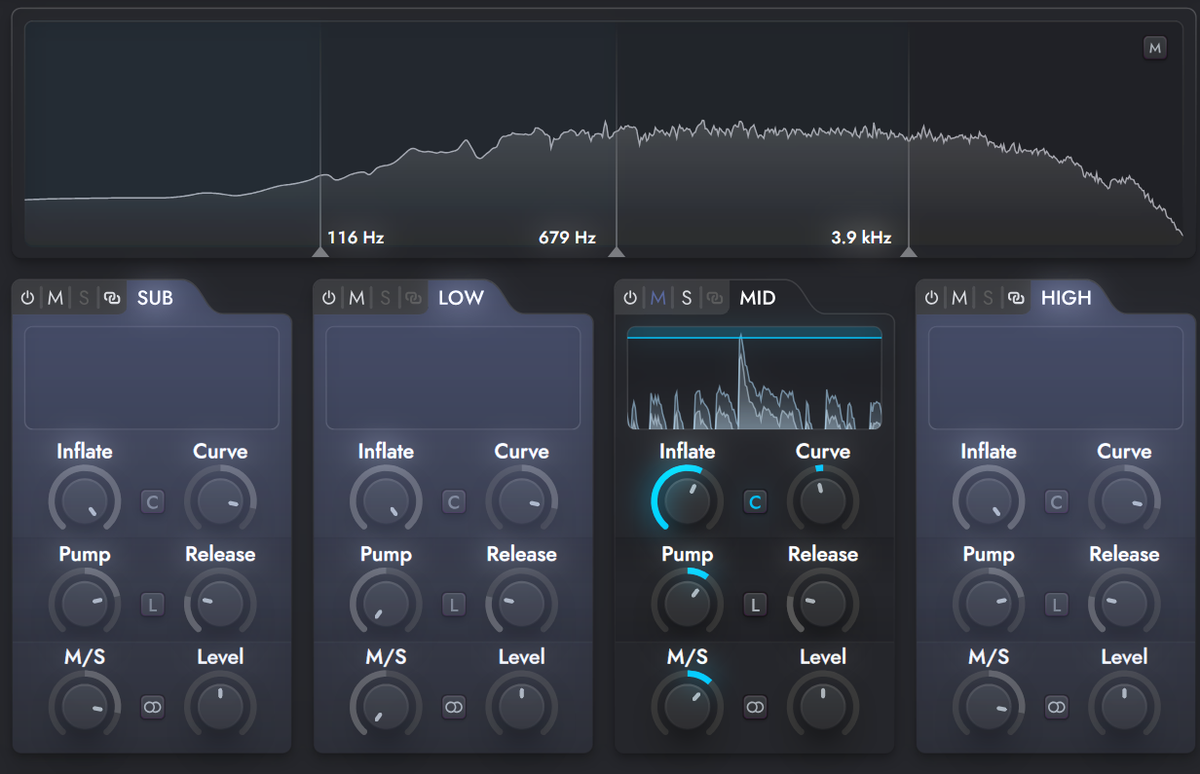
8. Each Frequency Band can be muted, soloed, or bypassed. For assistance in locating a specific frequency range, you might find it helpful to solo the nearest band and adjust its lower and upper bounds.
Perhaps this classic inflator setting sounds great on most of the frequency range, but is a bit too harsh above 11k for your particular mix.
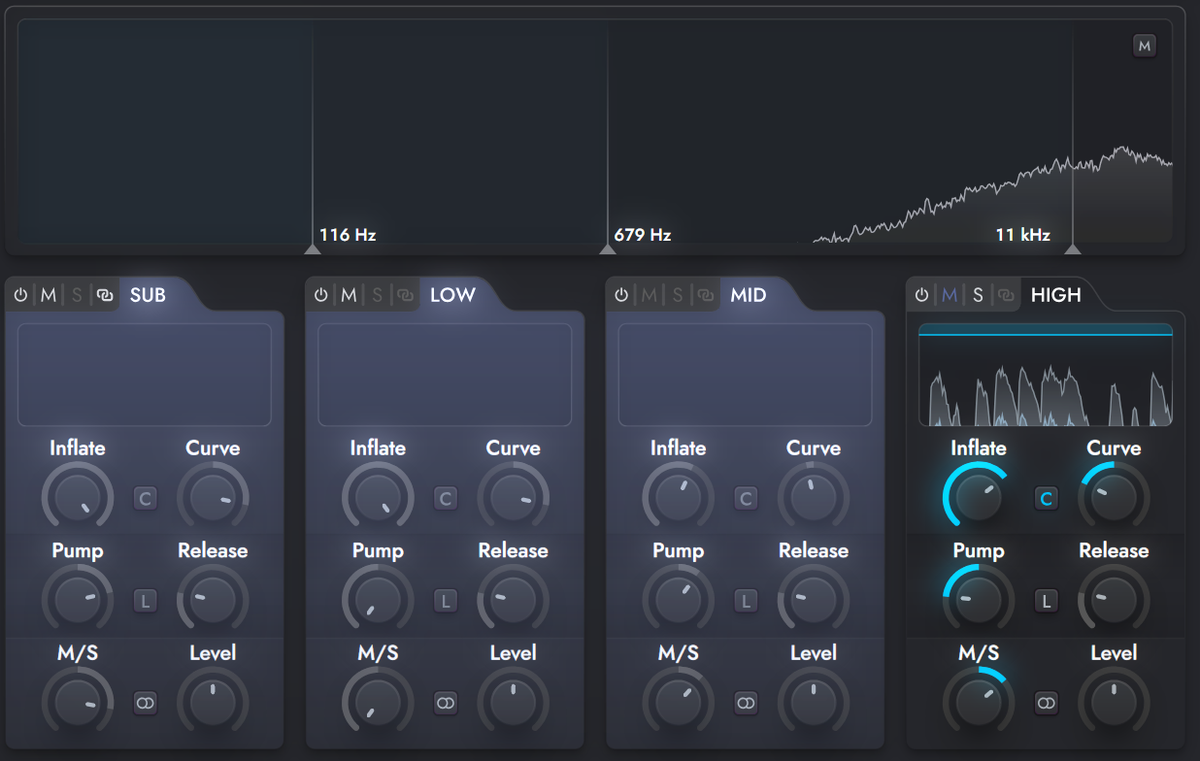
Just set the bounds of the High Frequency Band accordingly, and you can independently adjust the amount and type of effect applied to this band. Try turning down the High Band’s Curve setting and/or Inflate Amount for more subtle saturation. It may be that no effect is the best setting for the High Frequency Band. If this is the case, you can just bypass the High Frequency Band.
7. Presets
There are a lot of ways to add Oomph to your tracks.
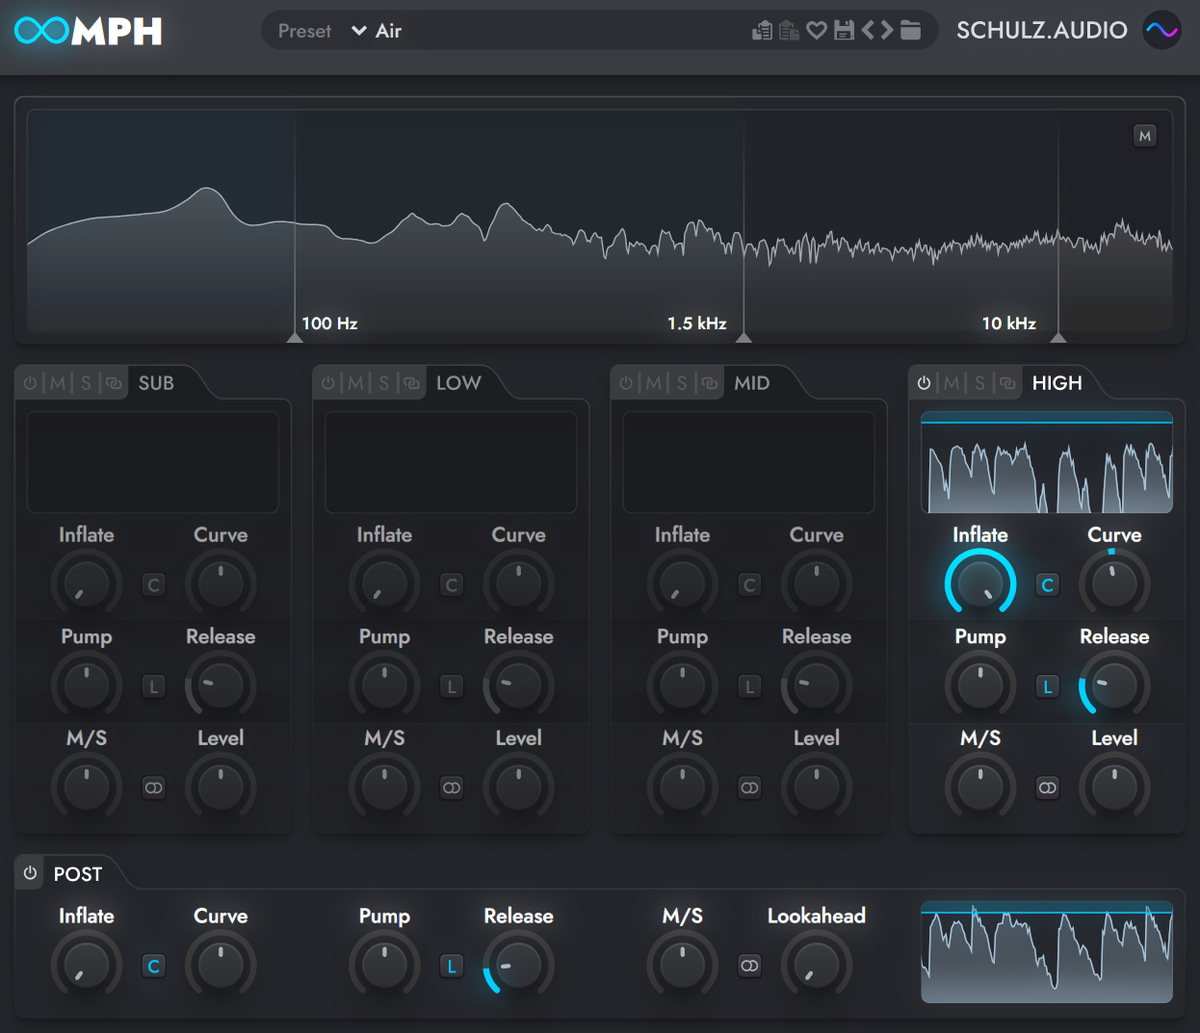
In the “Air” preset, only the High Band is active, adding a touch of harmonic excitement above 10k. This is a great alternative to a traditional EQ. Furthermore, the active band and the bypassed bands can all be routed through the Post Channel for a touch of warmth and glue.
Or in the “808 Pump” preset, only the Sub band is inflated and pumped, bringing the 808 forward in a mix so that it has more punch and presence on small speakers, without altering the rest of the mix.
More extreme settings can be useful on individual instruments and groups. For example, “Drums - Industrial” smacks the life out of an acoustic drum kit’s mid frequencies, making it sound more like an industrial electronic kit.
Check out the rest of the included presets for more ideas on how to add Oomph to your tracks!